

Email Settings
Here are the setting up your email accounts with a mail program such as Outlook. You can always go to your webmail account also at http://webmail.yourdomain.com
You can use mail.domain.com only if you don’t specify SSL/TLS (which today is quite rare and no longer acceptable for many businesses). All major email services now no longer support non-SSL/TLS connections so that is reflective of increasing focus on security standards.
As far as Mac client settings go, there are quite a few that range from Outlook to Mac Mail and others.
Assuming that this is a POP account setting for Outlook for Mac:
========================
– Account description (how the account is labeled in Outlook and can even be the email address if that helps)
– Full name (how your name appears in the From field of e-mail messages)
– Email address (full email address)
– User name (full email address)
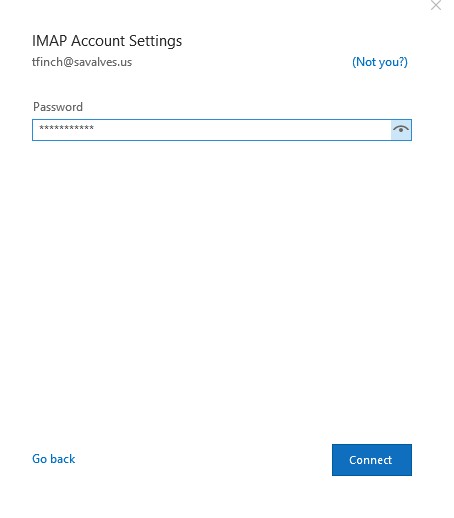
– Password (full email password)
– Incoming server: mail01.webservicesinc.net
– Override default port (leave this unchecked)
– Use SSL to connect (check this box and ensure that the port is set to 995)
– Outgoing server: mail01.webservicesinc.net
– Override default port (leave this unchecked)
– Use SSL to connect: (check this box and ensure that the port is set to 587)
– More Options (choose Use incoming Server info in the Authentication drop down the select OK)
These settings will work with a PC as well. You may connect via POP3 or IMAP.
========================
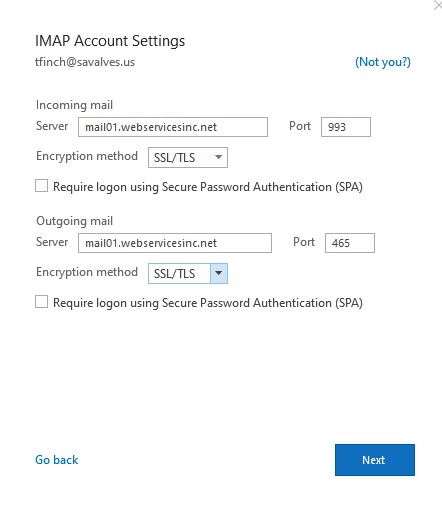
For IMAP settings use the same as above but ports are
993 for incoming
465 for outgoing
Android Email
It’s great to able to access your email on the move. This guide will show you how to set up your email account on an Android device.
Please Note: The setup of your email may vary slightly depending on the make and model of your android device. The guide below was created using Android version 8.0.0 on a Samsung Galaxy A5.
Before you start you’ll need to know the email address and password for the account you’re looking to set up. If you are unsure of these details email us.
Let’s get started…
- Tap the Apps button and locate your built-in email application. (Most likely an icon with an @ symbol or envelope called Email.)
- Open the apps settings and select Add Account. (If this is your first time using your email app you may already be on the Set up account page when you opened the app.)
- Select OTHER
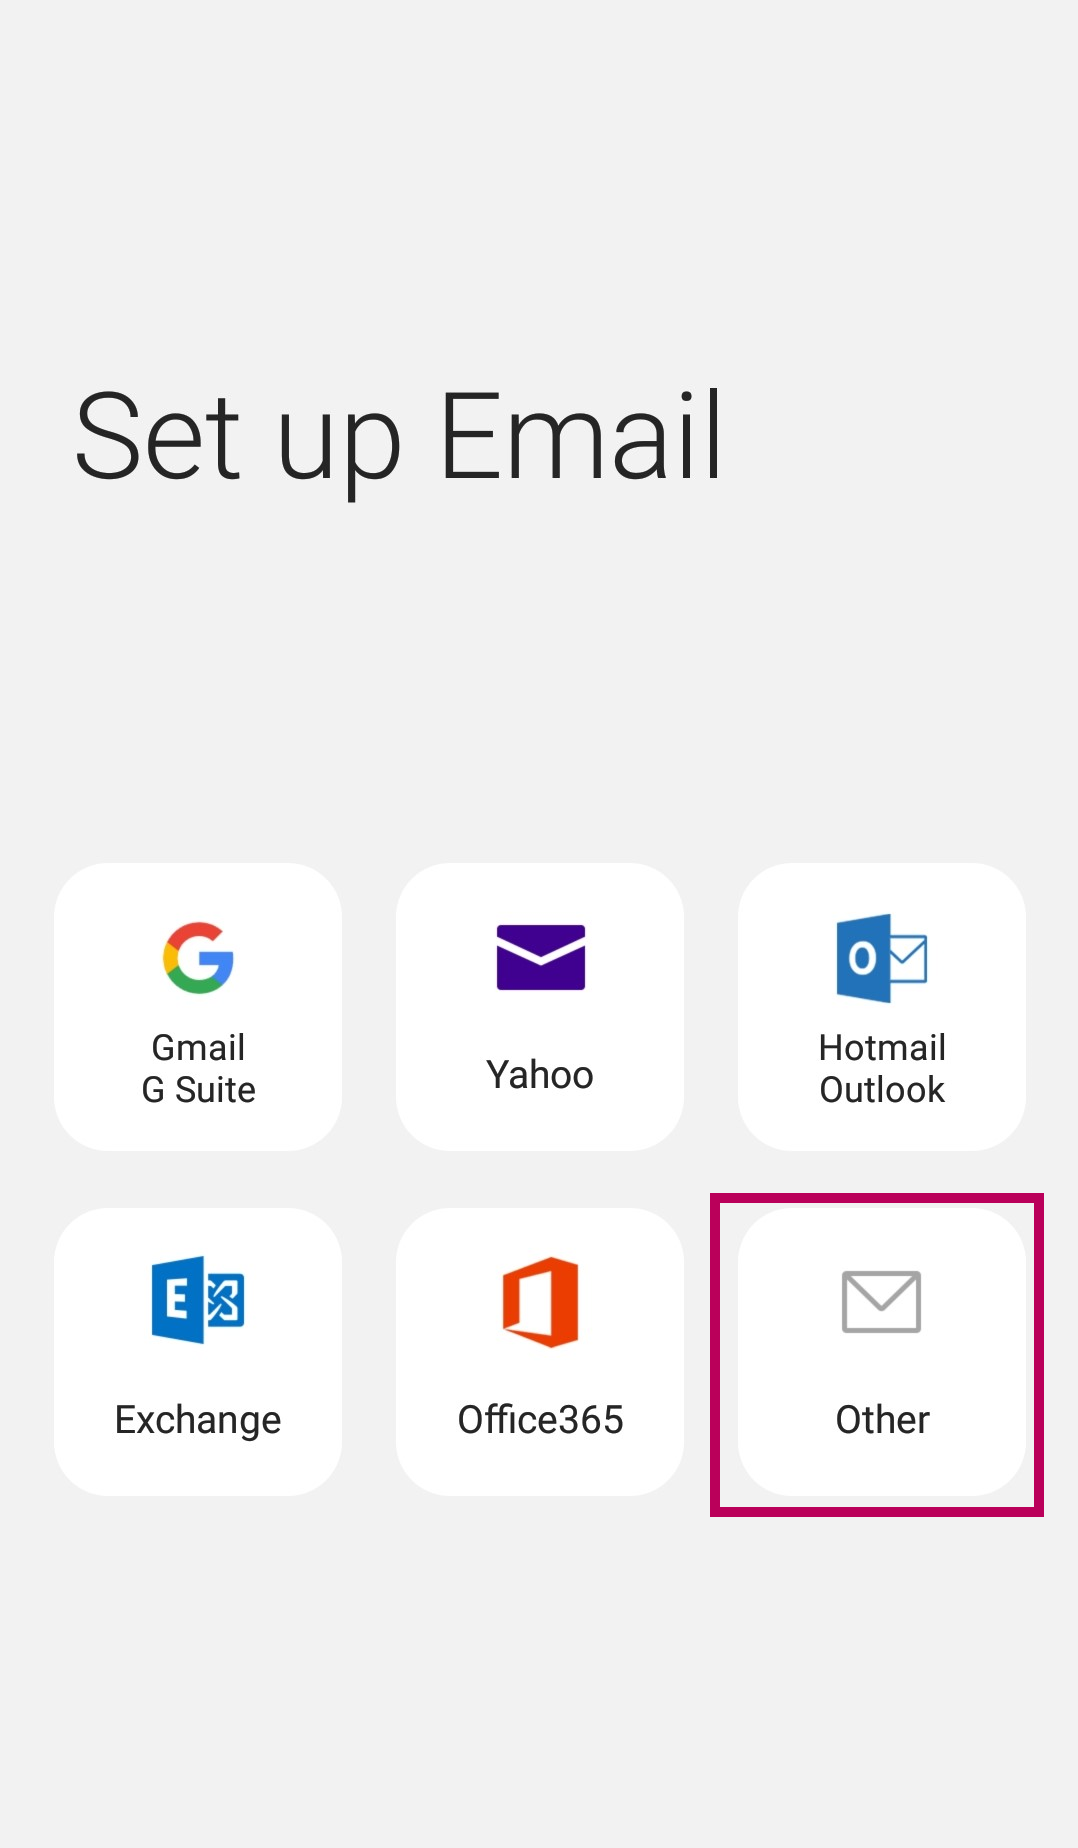
- Enter your Email Address and Password in the fields and then tap MANUAL SETUP.

Please Note: It might be helpful to choose Show password to ensure the password is correct if you have this as an option.
- The device will now ask you to Select account type you want to use. Tap IMAP ACCOUNT, alternatively, if you want to use POP3 you can find all the settings above.
- Your device will then ask you for your account settings. The following details need to be entered on this screen:
ACCOUNT
- In the Email address field enter your full email address if not populated already.
- In the Username field enter your full email address
- In the Password field enter your email password if not populated already.

INCOMING SERVER
- In the IMAP server field enter mail01.webservicesinc.net
- The Security type needs to be set to none
- The Port should be set to 143
- The IMAP path prefix needs to be left blank

OUTGOING SERVER
- In the SMTP server field enter mail01.webservicesinc.net
- The Security type needs to be set to none
- The Port should be set to 465, 26 or 587
- Ensure that Authentication required before sending emails is ticked
- In the Username field enter your full email address
- In the Password field enter your email password

- Once completed click SIGN IN
- The device will attempt to connect to the servers. If you receive any errors, simply choose Cancel and double check your details are correct. Once successful, you will be taken back to the Accounts screen.
Please Note: Depending on your internet service provider, the default port of 25 should allow you to send email. If you find that you are having problems sending email, the first step would be to change the port to 26 or 587. To do this:
- Open your Email application and head back to the Settings.
- Choose your account name and then scroll down to Server Settings.
- Scroll down to the Outgoing Server and change the port to 465 or 587.
That’s it! You’ll now be able to send and receive email using your Android device.
========================
GMAIL
You can add your email account to Gmail if that is easier for you to check. Here are the instructions and screenshots. Please make sure you can access webmail first. You can access it by going to
https://mail01.webservicesinc.net
and login with your FULL email address and password.
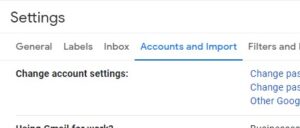
Login to Gmail and go to Settings, click all settings. You will see this screen and click “accounts and import”
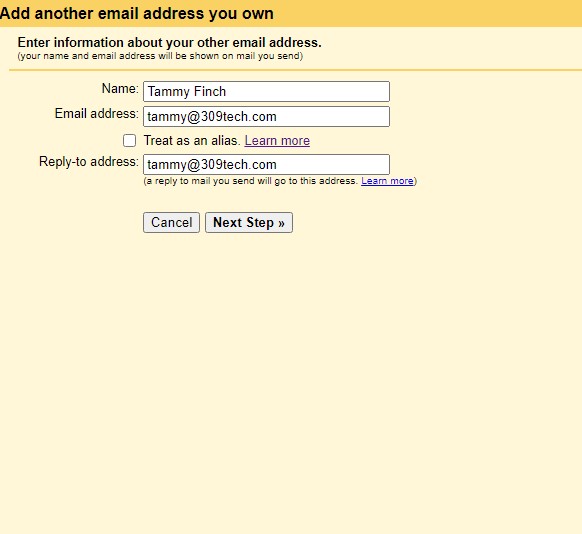
in the middle of the page, add another email address you own.
Type in your email address and the reply-to address. Uncheck the box “treat as an alias”
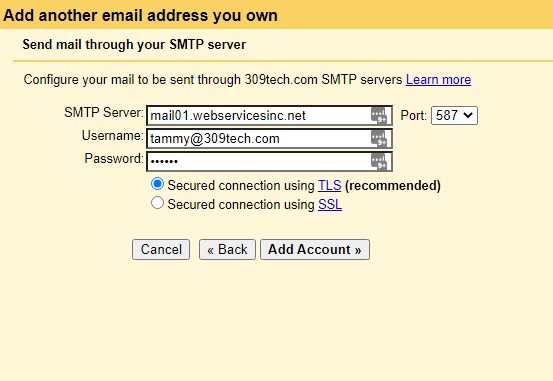
Add the mail server mail01.webservicesinc.net
username is the FULL email address
Password then tick the button “secured connection using TLS

You will need to verify the account by going to webmail and getting the code.
Once you are done, the account should look like this:

When you send an email, select the email you are sending from by selecting the account on the down arrow by your email name.